Alarm Panels

Touchscreen control panel
Select another panelHow to use the 2GIG GC2 GoControl panel
Arming and disarming the system
Arming
Arming in Stay mode In Stay mode, you arm all doors and windows (securing the perimeter of your business) without activating interior motion detectors.
- From the business screen press ARM STAY. The touchscreen displays a countdown exit timer.
Arming in Away mode In Away mode, you arm all exterior doors and windows as well as interior motion detectors.
- Press ARM AWAY. The touchscreen displays a countdown exit timer.
Disarming
- When entering the premises, enter your user code before the entry delay expires.
- If the system is armed in Stay mode while inside the premises, press DISARM then enter your user code.
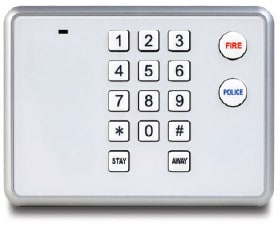
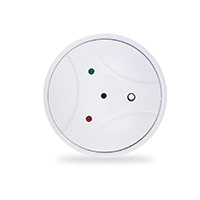
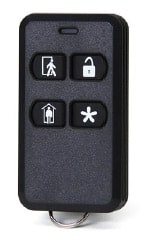
Emergency panics
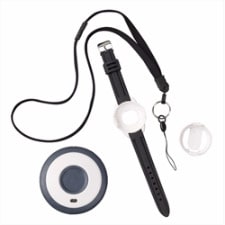
You can use emergency panic buttons to notify the Bell Security and Automation central monitoring station of different emergencies in your location. Emergency panics are used when you need immediate assistance. Below are the types of panics, an example of when you may want to use them and what each of them does.
Police: Use when you need police assistance
When someone is attempting to break in.
By selecting police emergency panic, you’ll set off the alarm (perhaps scaring away the potential intruder) and notify us that you’re in an emergency that requires police response. We’ll contact you by either two-way voice or phone. We’ll also notify police of the emergency at your business and request immediate response.
Fire: Use when you need assistance from the fire department
If your business is on fire, gather everyone up to exit immediately. Don’t even take time to look for your mobile phone. On the way out, trigger a Fire emergency with two quick taps on your panel.
By selecting the Fire emergency panic, you’ll set off the alarm (perhaps alerting someone who is still inside your business) and notify us that you’re in an emergency that requires a response from the fire department. We’ll contact you by either two-way voice or phone. If you do not respond, we’ll attempt to reach one of your key contacts. We then notify the fire department of the emergency at your business and request immediate response.
Emergency: Use when you need medical assistance
When you’re hurt and unable to call out and alert others that you need help. Go to your system panel and set off the Auxiliary/Medical emergency panic.
By selecting Auxiliary/Medical emergency panic, you’ll set off the alarm (alerting others of an emergency) and notify us that there is a medical emergency at your business. We’ll contact you by either two-way voice or phone. We then notify the proper authorities of the situation at your business and request immediate response.
Adding a code
To add codes using the panel:
- Press the Home button (the physical button with the house icon).
- Press the Security button.
- Press the Menu button.
- Press the Toolbox button.
- Enter your 4-digit master access code.
- Press the User management button.
- Press Add user (2,3,4 etc.).
- Enter an access code for the new user and press OK.
- Enter the access code again to confirm and press OK.
- Press OK on the confirmation page.
- Select whether you want the access code to always be active or to set a specific schedule.
To add codes using the web portal:
- Visit business.bell.ca/shop/small-business/security-automation
- Click Account login.
- Select Bell Security and Automation.
- Enter your login name and password and click Log in.
- On the left menu, click the Users button.
- Click Add user on the top right.
- Enter the first and last name of the person that will be using the code.
- Under Access control, click on the open lock symbol and select Panel to give panel access to this user.
- Enter the 4-digit access code you wish to give to the user.
- Under Schedule, select At all times or Limit access times and specify the days and times.
- If you have a smart door lock, you can also choose to give this user access by clicking on the key symbol and selecting the lock.
- Click SAVE.
Changing a code
To change codes using the panel:
- Press the Home button (the physical button with the house icon).
- Press the Security button.
- Press the Menu button.
- Press the Toolbox button.
- Enter your 4-digit master access code.
- Press the User management button.
- Select the user you wish to change the access code for.
- Press Change PIN.
- Enter a new access code for the user and press OK.
- Enter the access code again to confirm and press OK.
- Press OK on the confirmation page.
To change codes using the web portal:
- Visit business.bell.ca/shop/small-business/security-automation
- Click Account login.
- Select Bell Security and Automation.
- Enter your login name and password and click Log in.
- On the left menu, click the Users button.
- Click the pencil icon to the right of the user you wish to modify the access code for.
- Under Access code, enter the new 4-digit access code you wish to give to the user.
- Click SAVE.
Deleting a code
To delete codes using the panel:
- Press the Home button (the physical button with the house icon).
- Press the Security button.
- Press the Menu button.
- Press the Toolbox button.
- Enter your 4-digit master access code.
- Press the User management button.
- Select the user you wish to change the access code for.
- Press Delete.
- Press Delete user.
- Press OK on the confirmation page.
To delete codes using the web portal:
- Visit business.bell.ca/shop/small-business/security-automation
- Click Account login.
- Select Bell Security and Automation.
- Enter your login name and password and click Log in.
- On the left menu, click the Users button.
- Click the garbage can icon to the right of the user you wish to remove.
- Click Delete user on the confirmation page.
Please note: You can remove just the panel/lock access from a user by modifying the access points control without having to delete the user completely.
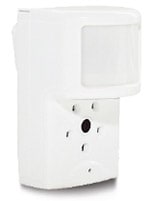
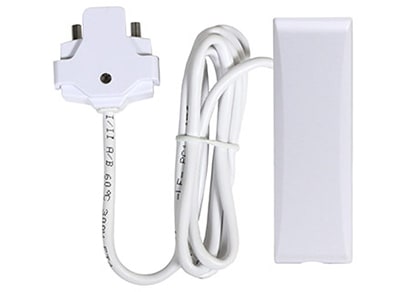
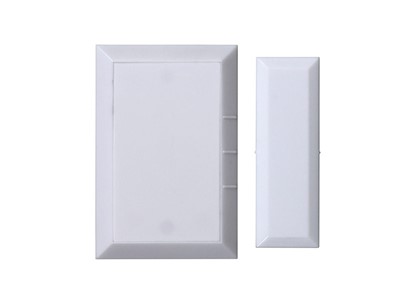
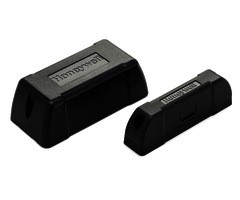
To bypass a sensor means to deactivate a security sensor (or zone) on your security system. If someone enters a bypassed area, the alarm will not sound off. You can still arm and secure your system in other areas.
There are a number of reasons to use the bypass function. You may want to leave a specific door or window open. It can also be useful when a sensor is not working (i.e., low battery). You could still arm the rest of your system until a technician can come fix the malfunctioning sensor.
To bypass a sensor:- From the home screen, press SECURITY and then MENU.
- Press TOOLBOX and then enter your master code.
- Press BYPASSED SENSORS.
- Find the sensor you wish to bypass and press to select it.
- Press the HOME button to exit.
- To arm your system, press SECURITY then ARM.
- Press STAY or AWAY.
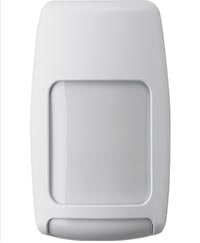
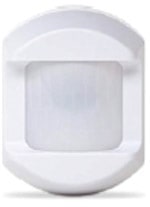
While the system periodically does self-tests and many alerts are in place, it’s still important to test your system monthly to ensure full functionality.
To test the sensor:
- Press the Home button (the physical button with the house icon).
- Press the Security button.
- Press the Menu button.
- Press the Toolbox button.
- Enter your 4-digit master access code.
- Press the System test button.
In this menu, all the sensors will be displayed.
- Trigger each sensor that you wish to test (For example, open and close doors, walk past motion sensors).
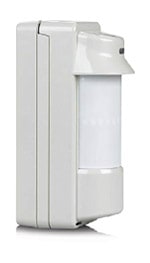
Please note that motion sensors have a 3-4 minute sleep timer after each transmission. To properly test the motion sensor, stay out of view for approximately 5 minutes prior to walking past the sensor. Some sensors will require pressing the test button on the device.
- When a sensor has been triggered and the signal has been received successfully from the panel, a check mark appears by the sensor as well as a signal level indicator with up to 5 bars indicating the signal strength.
- Press OK to finish sensor test.
- If you wish to test the LED light on the panic and Home buttons, click on each individual test and confirm that the LED light is reflecting correctly. Otherwise, press OK to exit the test.
To test two-way voice:
- Call 1 800 267-2001 to advise the service department that you’ll be testing your two-way voice.
- Press the Panic button (the physical “+” symbol).
- Hold down any of the three panic buttons (panic, fire, emergency) down for two seconds.
- The siren will sound. Wait for the live operator to come on the speaker. Identify yourself with your verbal password.
- Disarm the system by entering your 4-digit arming code.


What to do during an outage (power, Internet or phone)
If the power goes out in your business, the alarm portion of your security system will continue to function on the backup battery for up to 24 hours. However, video devices will be offline as they do not have a battery backup.
The alarm portion of your security sensor does not rely on your business Internet and it will not be affected. If you have video devices, they will not be able to record events without the Internet. However, if you have a stream video recorder (SVR), the cameras set to record to the SVR will continue to record as long as both units are powered and are still connected to the local Wi-Fi network (assuming the router is still functional). You won’t be able to view the footage from the SVR until the Internet is operational.